How to Clean a Motorcycle Engine
If you want to make your dirty, oily, oxidized motorcycle engine shine like a diamond, here's how to clean it the right way.
As with any automobile, a motorcycle is an investment on the buyer’s part. As the years go by, your motorcycle is sure to increase in value should you keep it around for long enough, so it’s easy to get a return on your investment and then some.
Of course, there are a few caveats to be aware of here. Firstly, though some of the more expensive models may be able to be sold for a minor profit within a couple of years after their initial purchase, you’ll need to keep your motorcycle around for far longer to allow it to exponentially grow in value and to maximize your possible financial gain.
The second thing that all prospective and current motorcycle owners need to be aware of is how much maintenance these machines require. While a coat of wax every month or so certainly won’t hurt, you’ll need to go the extra mile to ensure that your motorcycle stays in its best form and continues to offer peak performance. While many bike owners are more than willing to put in a little elbow grease, knowing where to start can still be a problem.
Fortunately, that’s where we come in. In this article, we’re going to guide you through all the steps you will need to follow to thoroughly clean your motorcycle’s engine, and we'll also highlight several general maintenance tips. Rest assured that with us at your side and with a “can-do” attitude, you’ll be able to make your beloved motorcycle look as if it has just rolled off of the showroom floor.
Equipment
Although we’re going to start with the engine, you’ll want to make sure that you have all of these items at your disposal when it comes to cleaning your entire motorcycle.
Motorcycle Stand
Arguably the most crucial piece of equipment when it comes to motorcycle maintenance is a motorcycle stand. These handy support frames function similarly to a car-jack for a regular automobile. You’ll make use of it regularly when you need to change the tires of your motorcycle or do some work on the drive train.
Obviously, in this case, your chosen motorcycle stand will come in handy when we start cleaning. It comes in three distinct types - the scissor stand, the lift stand, and the fixed stand - though there isn’t a distinct “best option” between the three. Pick whichever suits your budget best.
Pressure Washer
While not technically necessary (you could simply scrub your bike with a wet cloth), a pressure washer will make cleaning your bike that much easier. Thanks to the high pressure of the sprayer, you can easily get rid of even the nastiest chunks of dirt and grime. You just need to make sure that you do not point your pressure washer towards any bolts or screws.
Brushes, Sponges, and Towels
Specifically, you should opt for a fairly soft bristle brush to scrub your motorcycle down without any fear of accidentally damaging it. You’ll also want a highly absorbent towel to ensure that any excess water can be quickly and easily soaked up.
Cleaning Solution
Finally, the last thing you’ll need is a cleaning solution. We recommend spending a bit more money to get a bottle of specialized bike cleaning solution, but if you’re in a pinch, normal dish-washing liquid will work fine.
Cleaning Your Bike’s Engine
With all your equipment at hand, you can start cleaning your bike’s engine and eventually the entire motorcycle, as well. Follow these steps to ensure that your bike is left shiny and spotless by the time you’re done.
Step One
You’ll first want to make sure that your engine and its immediate surroundings are clear of any dust. You can use an air compressor or a can of compressed air to accomplish this.
Step Two
There are a couple of places on your engine that can be damaged during the cleaning process. To this end, you’ll want to make sure that they’re covered to avoid getting wet. An easy solution is to grab some small plastic bags and masking tape and cover those sensitive spots. This includes the ignition coil, spark plug, and fuse block.
Step Three
Grab your citrus-based degreasing agent (these will usually be included with your purchase of the motorcycle) and apply it to the surface area of the engine. There is no need to be stingy here. Follow the directions on the degreasing agent’s packaging and allow it to sit for 15 to 30 minutes.
Step Four
Once the degreasing agent has finally settled in, you’ll have to remove it with the help of your trusty pressure washer. Make sure that you get rid of all the excess degreasing solution or your motorcycle engine can end up being damaged.
Step Five
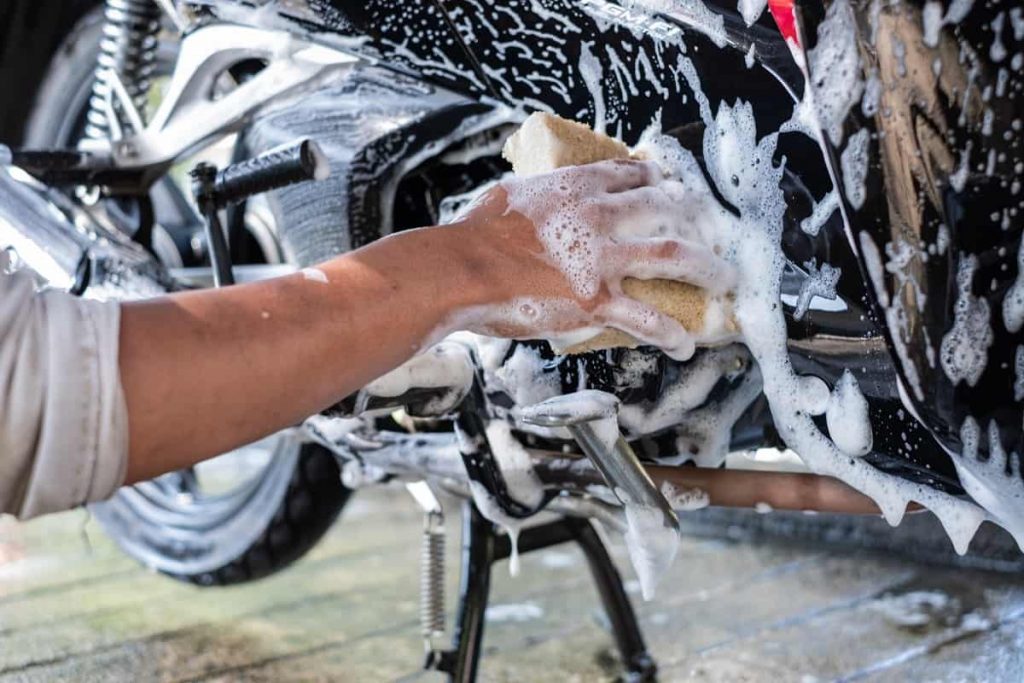
Now that the engine has been rinsed, grab a bucket of warm water and your choice of a soft bristle brush. Mix in some of your chosen cleaning solution, get your brush soaked, and go to work on the engine. Scrub as much as possible to get rid of as much dirt as possible. When you’re done, rinse the engine once more.
Step Six
Dry the engine. Again, you can make use of an air compressor or a can of compressed air to accomplish this. Use either of these in tandem with a dry towel or cloth. To make sure that the engine is properly dried off, wait 30 minutes or so.
Step Seven
Apply some rubber seal protectant (like your degreasing agent, it will probably come with your motorcycle). No funny business here; simply follow the directions on the protectant’s packaging.
Step Eight
Polish any chrome areas on your motorcycle engine. You should make use of chrome polish and a soft towel or cloth for this. You may need to buff it for a few minutes for your engine to regain that distinctive sheen. Once you’re done with this, remove the plastic bags and coverings from your engine.
Conclusion
Now you know how to clean a motorcycle engine. You’ll likely become very familiar with this set of instructions if you intend on making this task a habit. Rest assured that although it may seem tedious right now, cleaning your engine will eventually become second nature, and you’ll be all the happier for it.

WRITTEN BY
Garrett
I grew up working on my own cars and motorcycles and 15 years later I love still getting my hands dirty.